Like most people, I moved to Fuji (from Nikon) for the small form factor, great image quality and certain magic that comes from using an analogue feeling digital camera.
However, for the first 5 years or so, I kept myself planted in RAW, because that’s what we do right? Then I started getting fed up of ‘processing’ or ‘editing’ my photographs. I would end up with hundreds of images sat on memory cards waiting to be imported, only to then be forgotten about and lost in a card format.
One evening, I stumbled across this (brilliant) article and it totally changed my mindset. Honestly, read it if you use a Fuji camera.
I realised that Fuji were the experts on colour, not me (even as a graphic designer – that’s not a graphic designer (see last week’s blog)). They have applied decades worth of experience and science into fine tuning these film simulations and, really, it is part of what makes Fuji cameras special.
As photographers we document light; but things like textures, people, landscapes, and colour are constants. Obviously, there’s artistic license to consider but I am in the camp of documenting what’s in front of my camera, not telling a different story on a computer later. With this mindset, I set my cameras to shoot JPEG only and adopted the attitude of focusing on realism over editing.
I appreciate that using a Fuji Film Simulation is akin to editing in some respects. I still decide whether to express the colours vividly in Velvia or charismatically with Classic Chrome. I would tend to pick a film simulation and roll with it for a duration of time, much like loading a roll into a film camera. This means that my images reflected how the environment made me feel, in that moment, not later on in the office.
This liberation of thought process was revitalizing, for a time. However I started to notice that sometimes, the camera’s dynamic range couldn’t quite achieve what I was seeing. Using the Fuji Film Simulations is now part of my workflow, not the be all and end all. A couple of months ago I reverted back to shooting RAW and Jpeg in my X100V and XT-3 which gives me the best of both worlds. Interestingly, I leave my old X-E2 in Classic Chrome, just for the experience.
My Fuji Film Simulation import workflow using Bridge and Lightroom
- Load the card and open up Bridge in Filmstrip view and set previews to low quality for fast viewing
- Filter to Jpeg only and sort by filename
- Review the Jpegs one by one marking keepers as red (Selected) and images that might need some additional processing as blue (Review)
- Remove the Jpeg filter and replace with a filter for Selected and Review
- Copy those on to my desktop
- Import the Selected Jpegs and Raw files that need some extra work into Lightroom
- Add the desired Film simulation back on in Lightroom (Classic Chrome etc) in Profiles

This workflow has lots of benefits. It removes the decision making process from the Jpegs that Fuji has applied 80 years’ of science to and it also removes the wasted time of ‘processing’ multiple Raw files unnecessarily. It also frees up space on my hard drives (and Creative Cloud account).
It has also MASSIVELY tuned down my editing. I now do little more than tweak the Whites and add a bit of Clarity. This makes me feel much happier ethically as a photographer. I feel as though my images are a true reflection of what I saw, and why I felt compelled to put my camera to my eye.
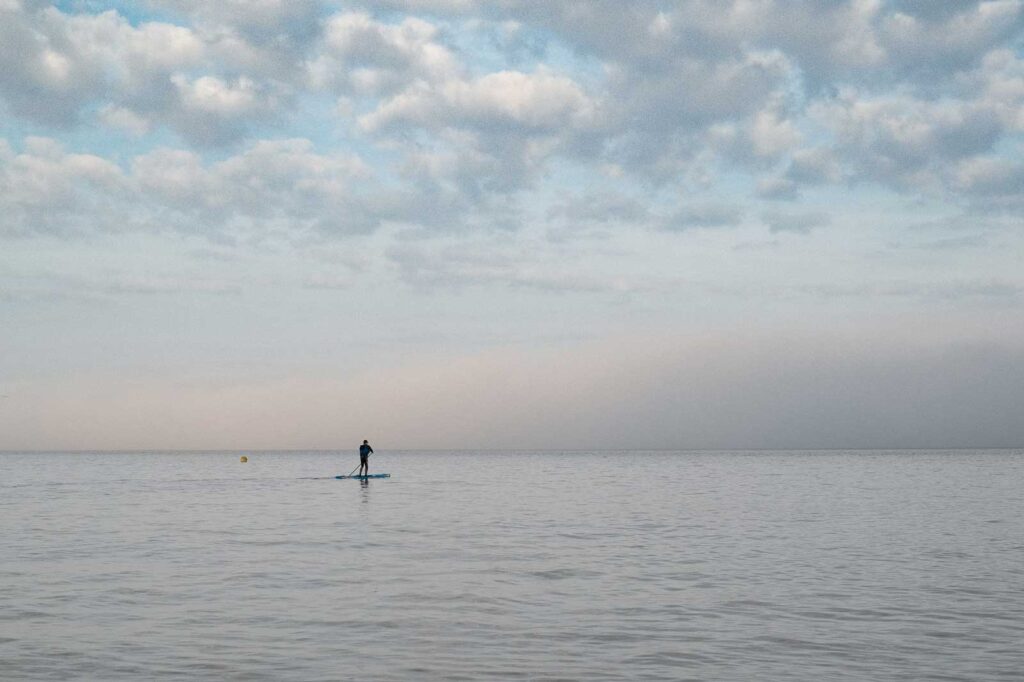
X100V Classic Chome 
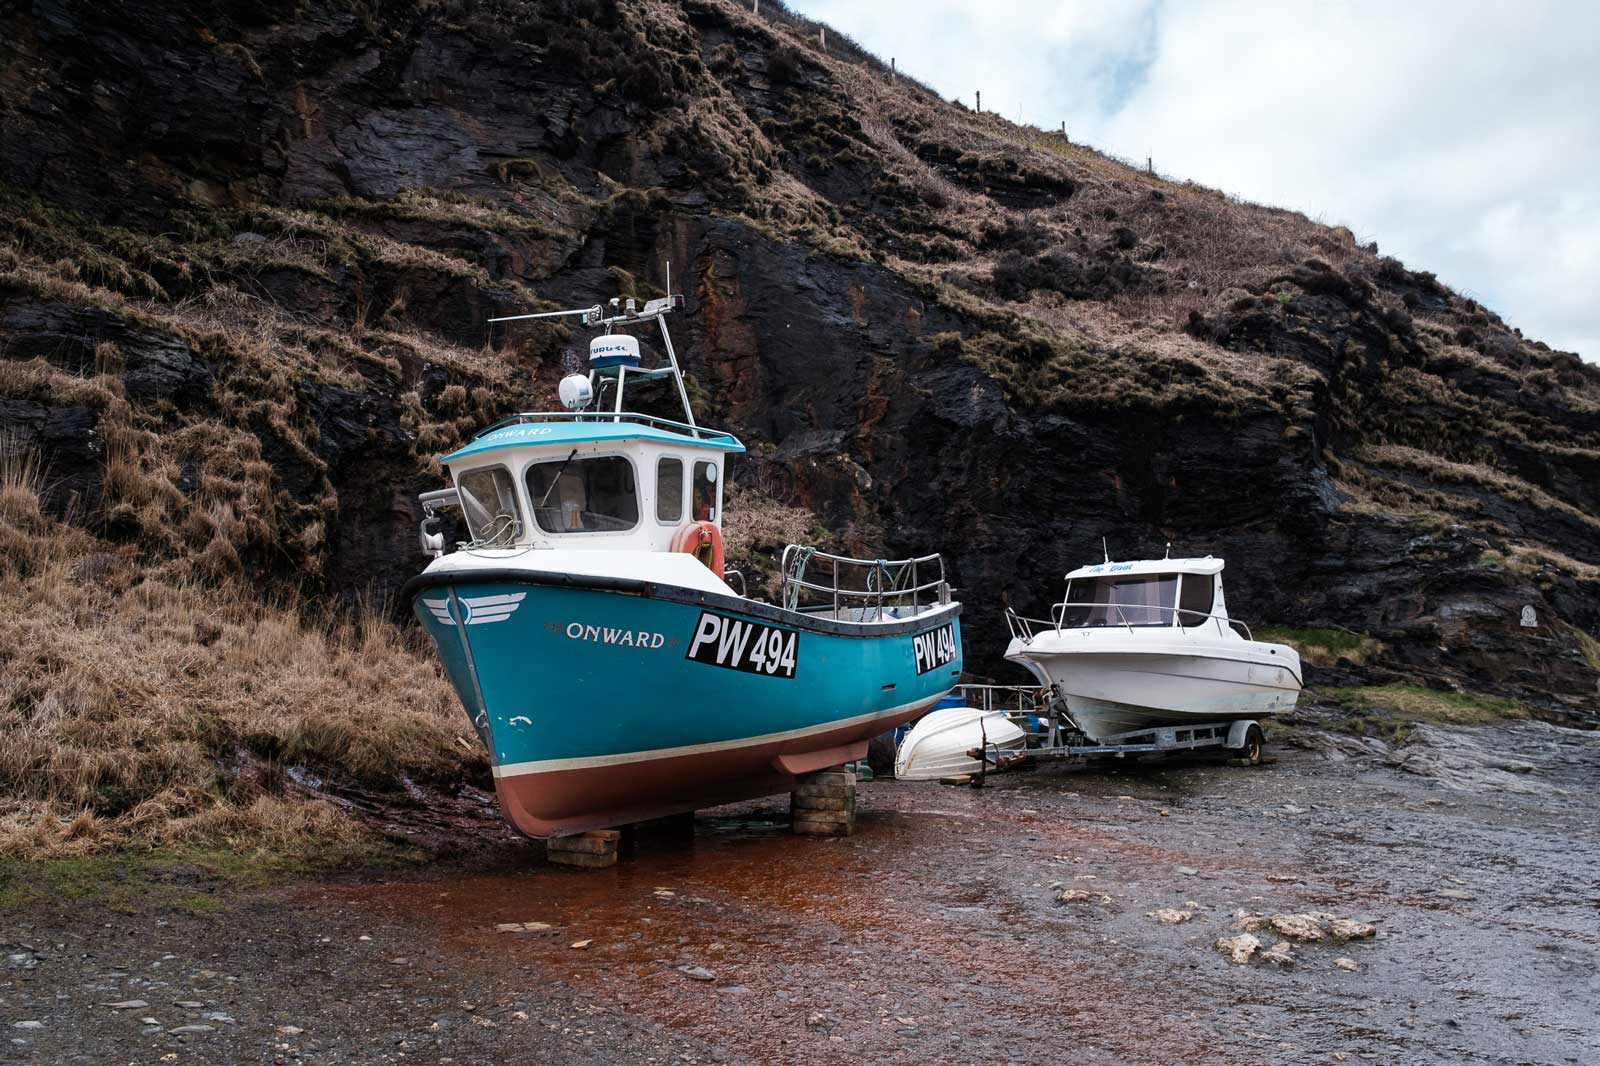
X100V Pro Neg Hi 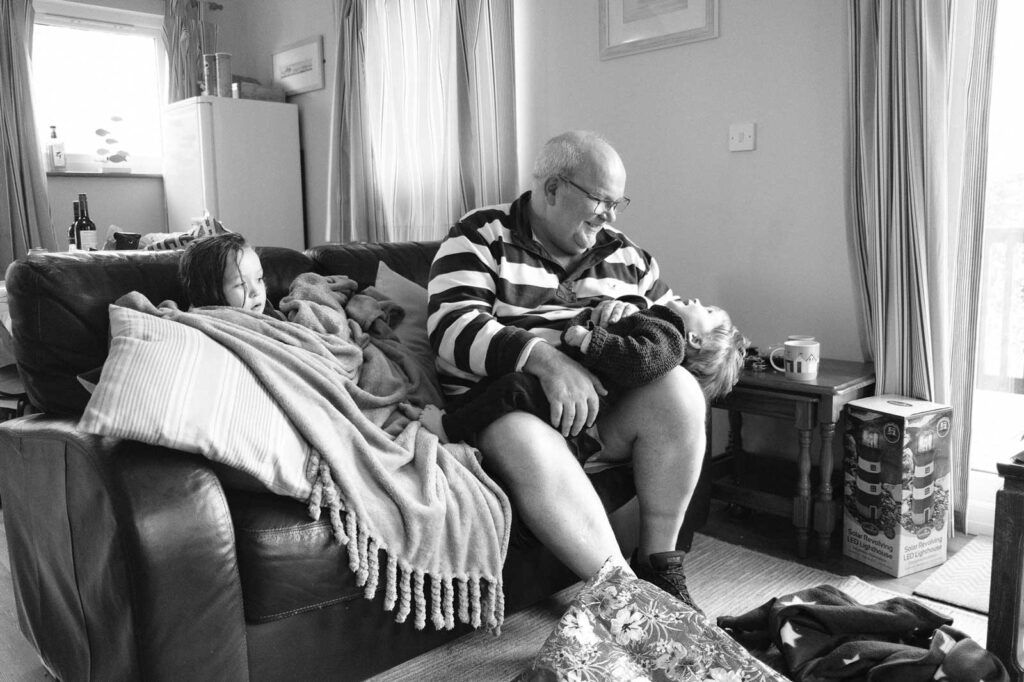
X100V Acros 
X100V Pro Neg Hi (maybe)